Setup Ghost Blog part II (domain setup)
In this post, we handle domain setup and example of one comment system that can be used with a ghost.
Domain
First you should obtain domain for your blog. You could buy a domain from many domain providers and prices vary. After you have a domain and then setup hostname for your blog. That generally means that you enter your DNS (Domain Name Server) address. Digital Ocean already provider DNS servers, but we will go over and alternate setup using CloudFare as DNS server.
Digital Ocean DNS handling
Digital Ocean provides DNS service so you can set up hostname using it. If you servers are on Digital Ocean this is most easy to setup.
First login into your domain provider and find DNS servers setting to change values to Digital Ocean servers. For example, this how this looks for my domain provider

The DigitalOcean domain servers are:
- ns1.digitalocean.com
- ns2.digitalocean.com
- ns3.digitalocean.com
This values you can enter into settings. It may take hour or two settings to take place. To verify that your domain uses new values use whois command from command line. For example
whois mydomain.com
You should get this result:
Domain Name: MYDOMAIN.COM
Registrar: MYDOMAINPROVIDER
Whois Server: whois.mydomainprovider.com
Referral URL: http://www.mydomainprovider.com
Name Server: NS1.DIGITALOCEAN.COM
Name Server: NS2.DIGITALOCEAN.COM
Name Server: NS3.DIGITALOCEAN.COM
........
Now you can login into your Digital Ocean account and go to Networking page.

Then you select Domains from left side
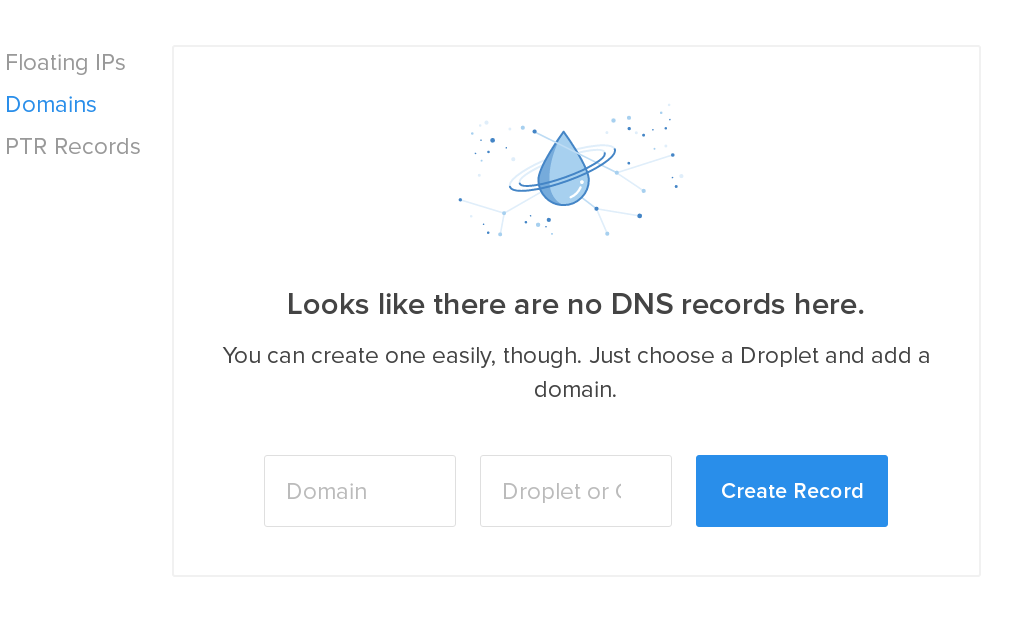
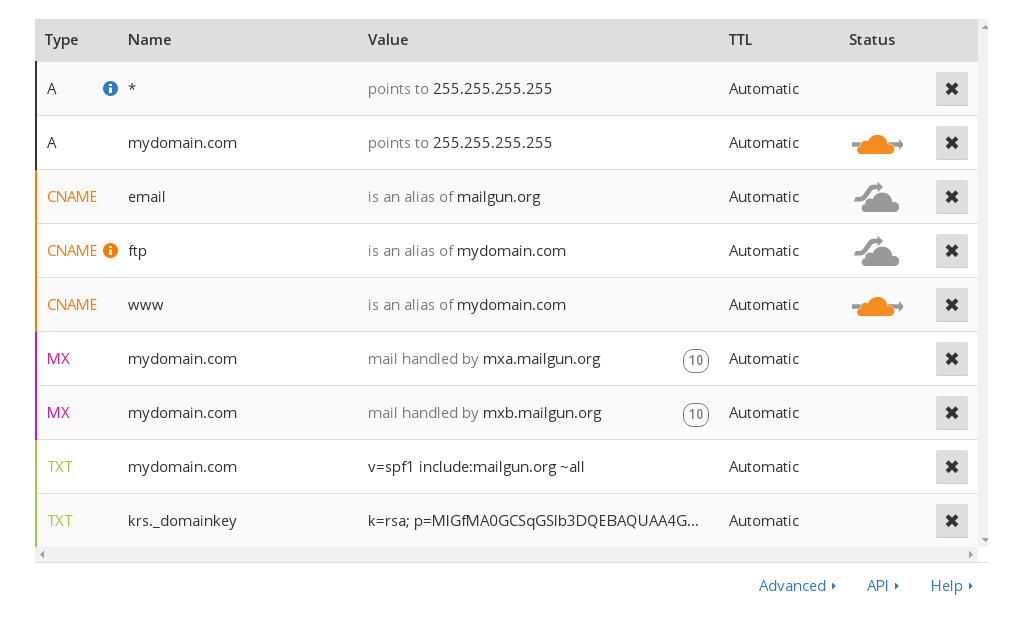
and enter the domain in domain field and select droplet for which you want to set domain. You get this screen with various records

A Records: Use this field to enter in the IP address of the droplet that you want to host your domain name on and the host name itself, a name prepended to your domain name
AAAA Records: Use this space to enter in the IPv6 address of the droplet that you want to host your domain name on and the host name itself, a name prepended to your domain name or you can also connect your IP to a domain name with nothing before it.
CNAME Records: The CNAME record works as an alias of the A Record, pointing a subdomain to an A record— if an A Record’s IP address changes, the CNAME will follow to the new address. To prepend www to your URL, click on “Add a new CNAME record” and fill out the 2 fields.You can also set up a catchall or wildcard CNAME record that will direct any subdomain to the designated A record (for example, if a visitor accidentally types in wwww instead of www). This can be accomplished with an asterisk in the CNAME name field.
MX Records: The MX Records fields should be filled in with the hostname and priority of your mail server, a value designating the order in which the mail servers should be attempted to be reached. Records always end with a "."A generic MX record looks something like this: mail1.example.com.If you need to set up a mail server on your domain, you can do so in the MX Records.
CloudFare DNS handling
CloudFare is service that provides not only DNS service but also, CDN, Security, Optimization, and some basic Analytics. And everything is available with a free account . off course some advanced features are only in paid account but everything that you need and more is already included for free.First you need to create an account on CloudFare. When you are signed in add your ghost domain.

Enter your domain and then click Begin Scan. After that, you need to get to your domain provider and change nameservers to CloudFare. Now you setup record similar as above.
CloudFare now will ask you to select a plan , select free plan and then click Continue. And thats it enjoy yor blog with custom domain.